Tundra Headliner Removal – A DIY Guide
Jamie Alberico | Dec 28, 2012 | Comments 1
Removing the headliner in your Tundra is technically sort of “easy”– it’s just very, very time-consuming. If you’re wondering why you’d remove the headliner:
- You might want to replace your existing stained or sagging headliner
- You’re looking to add sound-proofing or insulation
Here’s a step-by-step guide to headline removal with photos.
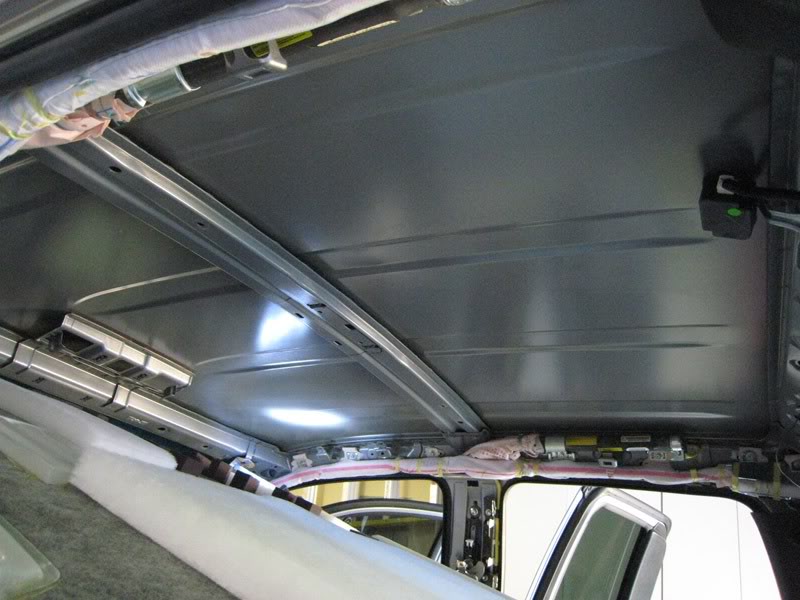
What You’ll Need:
- Socket wrench
- Small flathead screwdriver
- Electrical tape
- Patience. If you’ve got an extra set of hands, you can knock this out in a few hours. If you’re flying solo– don’t make any plans for the rest of the morning.
How to Remove Your Tundra’s Headliner
Removing your headliner is a slow, systematic process. You’re about to have a lot of small pieces. Lose a single bolt and you’ll be listening to an incessant rattle in your cabin. Since you’ve already got your electrical tape out, tape the bolts or screws to the plastic caps. Lay all the pieces out together and avoid the urge to start shoving bits in random pockets.
Start at the A-Pillar
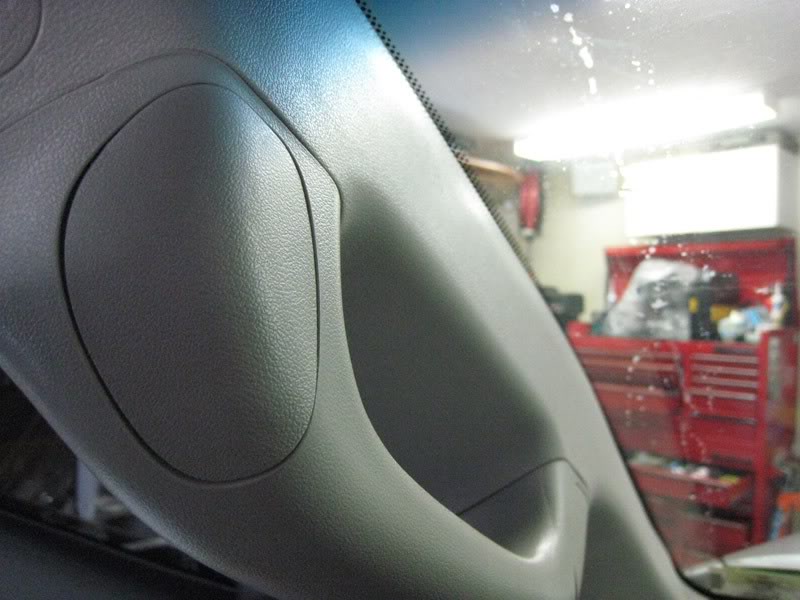
Step 1: Cover the tip of a small flathead screwdriver with electrical tape. This will keep the metal from scratching the plastic when you use it to pry open plastic caps.
Step 2: Remove the plastic cover on the A-pillar to reveal the 2 hidden 10mm bolts.
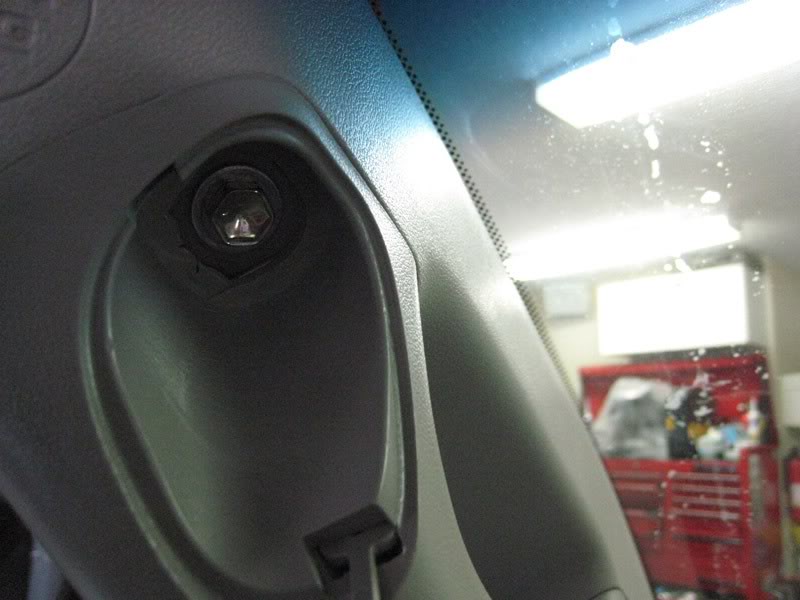
Once they’re removed, the A-pillar simply lifts out.
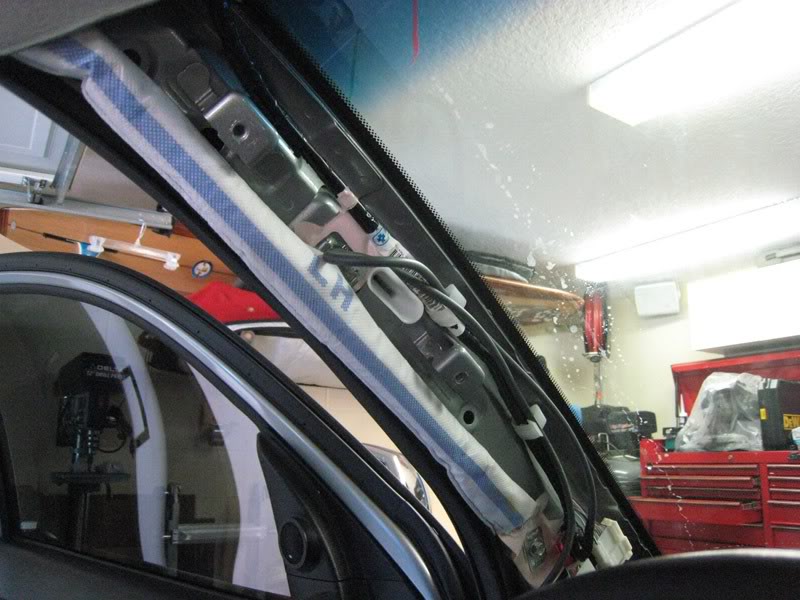
Remove the B-Pillar
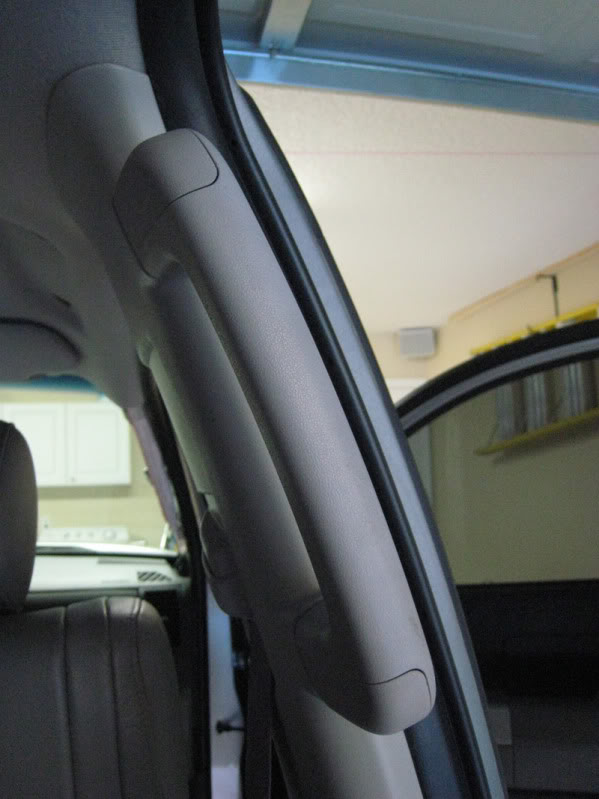
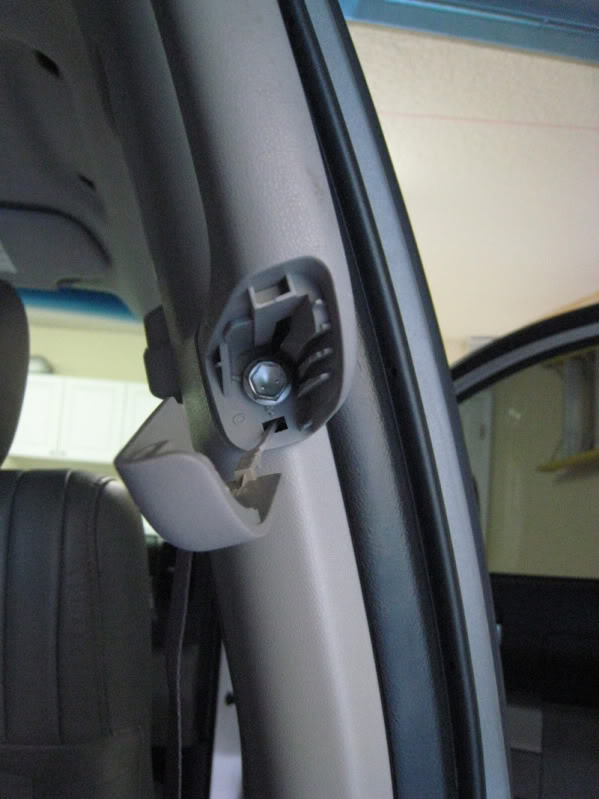
Step 3: Work your way back to the B-pillar. Free the plastic covers on the handle and unfasten the two bolts.
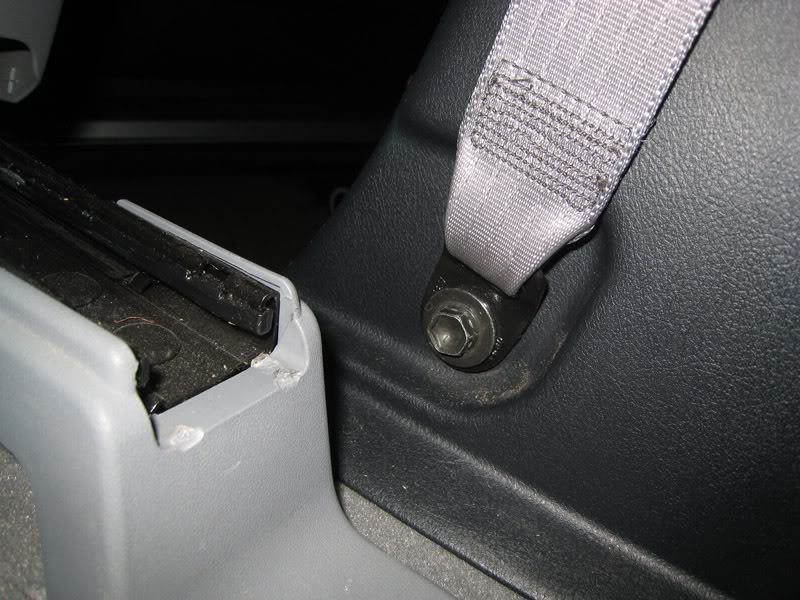
Step 4: Down by the seat tracks, you’ll find the seat bolt hidden by a plastic cover. Remove the bolt. Release the lower half of the B-pillar by carefully unlatching the small white clips.
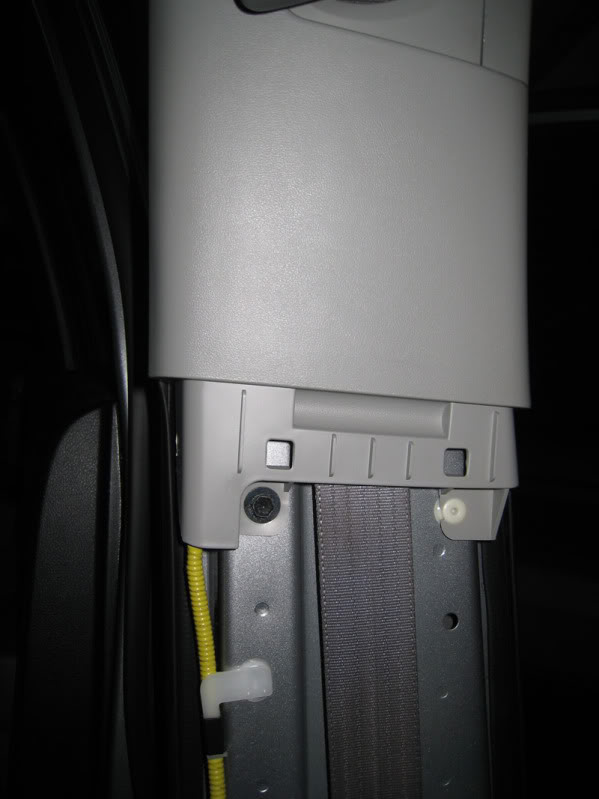
Step 5: Once the lower portion is off, you’ll be able to remove the 10mm bolt holding the upper portion of the B-pillar to the steel. Pop out the upper portion of the B-pillar by releasing the clip next to the screw and pushing the tab at the top.
Loosen the C-Pillar
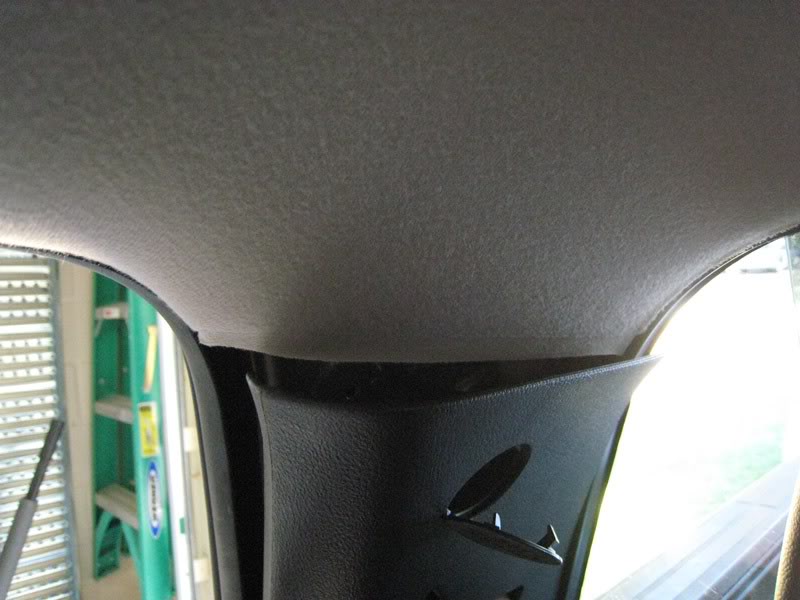
Step 6: You won’t need to remove the C-pillar, only loosen it enough to pull the headliner out. Remove the plastic cap that serves as the SRS Curtain airbag badge. Remove the bolt.
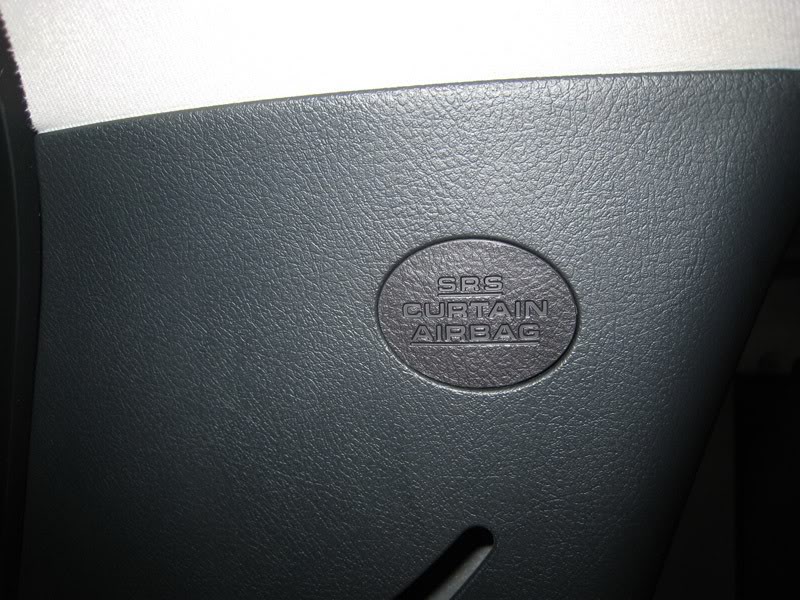
NOTE: At this point, it’s important to mention that monkeying around with your trim panels isn’t without risk. If you screw-up the re-installation, you could reduce the effectiveness of your Tundra’s side curtain airbags. Granted, the risks here are small, but it’s not something you should do unless you’re going to be careful.
Remove the Hanger Hooks, Passenger Handle, and Driver’s Overhead Cover
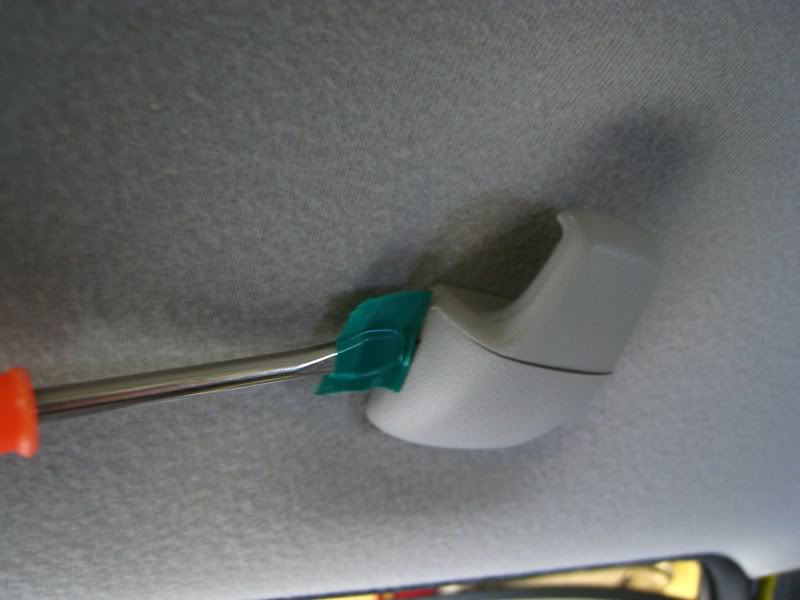
Step 7: Each of these pieces is held in place by metal clips. Start in the backseat with the hanger hooks. Using your tape-covered flathead screwdriver to pry off the plastic cap. The metal hooks pop out easily with your screwdriver. Work your way through the passenger handle and driver’s overhead cover.
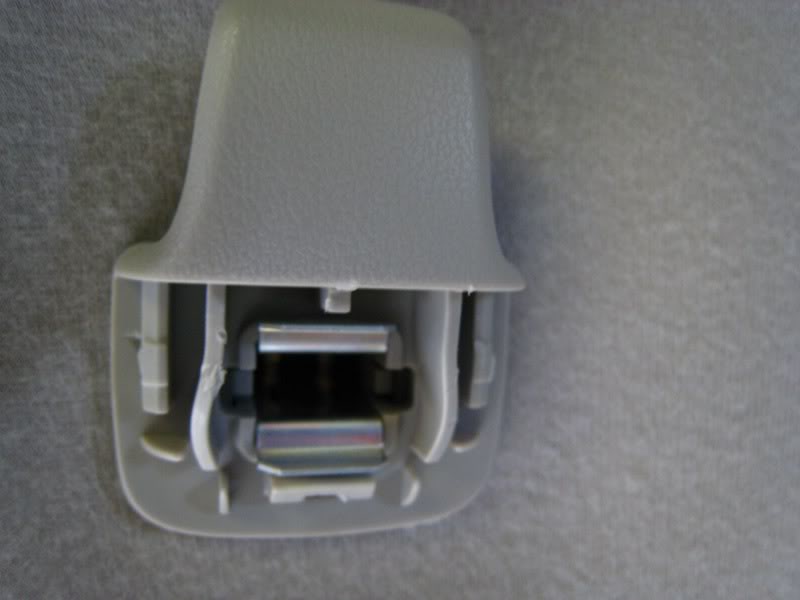
Detach the Sun Visors
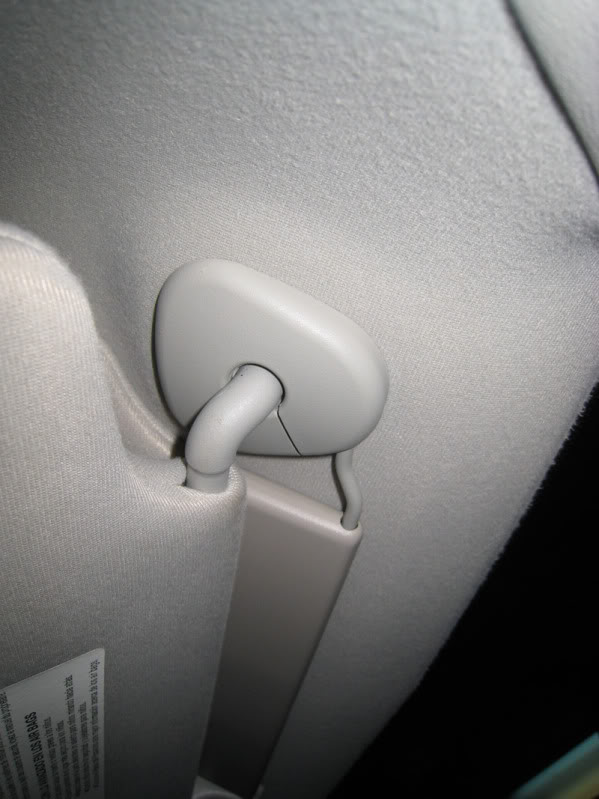
Step 8: Remove the plastic cover on the main assembly and unfasten the 3 torx screws. Remove the lone screw located under the sun visor clip.
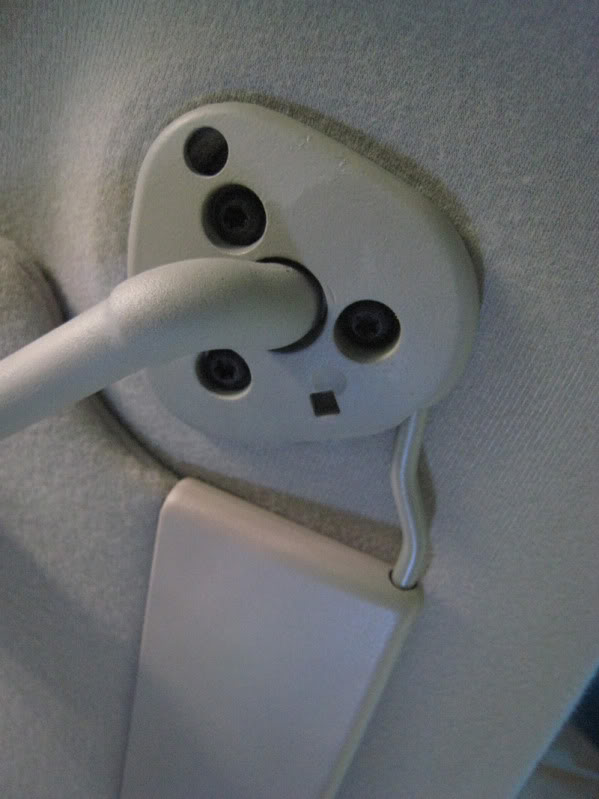
If you have a vanity light, disconnect the wiring harness.
Separate the Overhead Console
Step 9: There are 6 torx screws holding the overhead console in place. To access the two hidden underneath the rear light assemble, pop off the dome cover with your screwdriver.
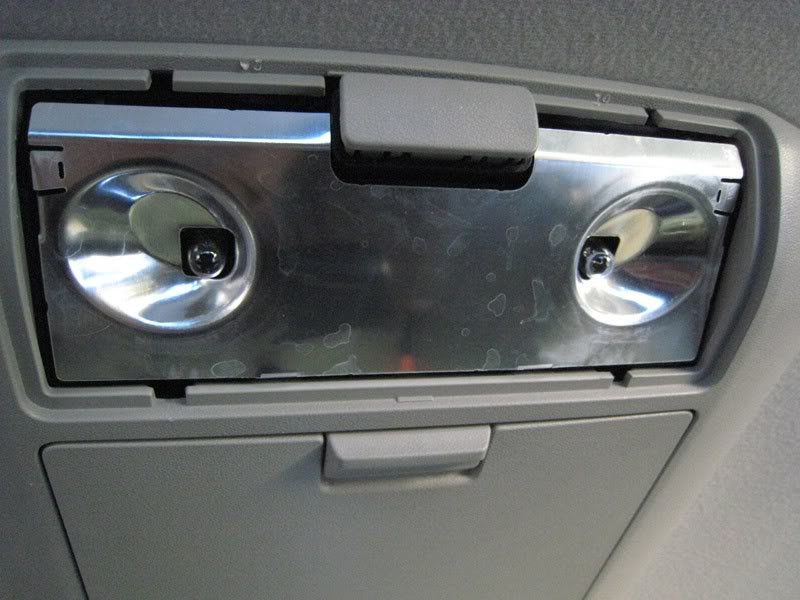
Pull off the metal plate and you’ll see 2 screws in the corners.
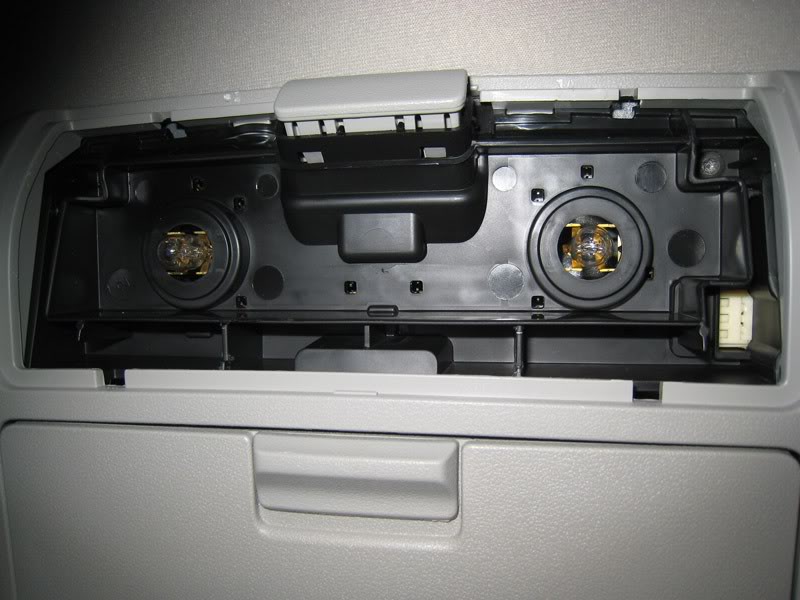
Step 10: Open the business card compartment and remove the two screws hiding in the back.
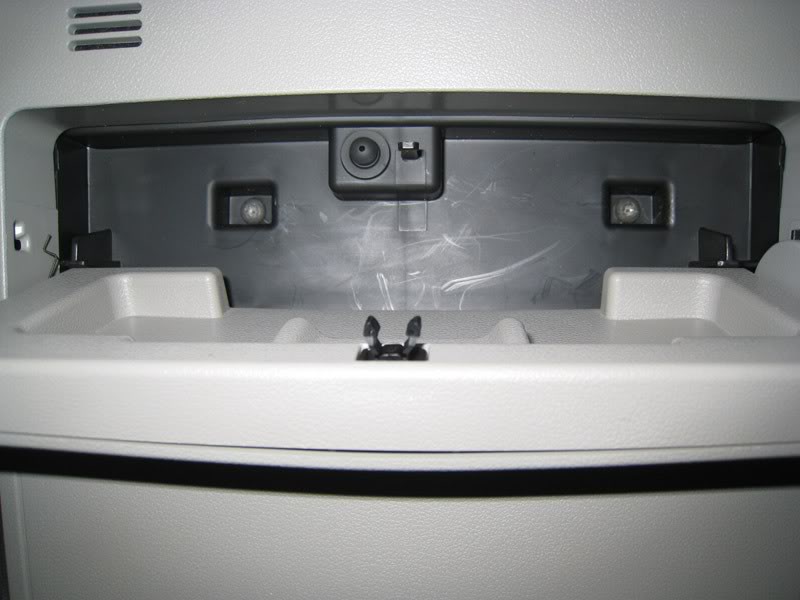
Step 11: The last two screws holding the overhead console in place are hidden behind the back up camera housing. Pop out the housing with a firm tug and remove the remaining screws.
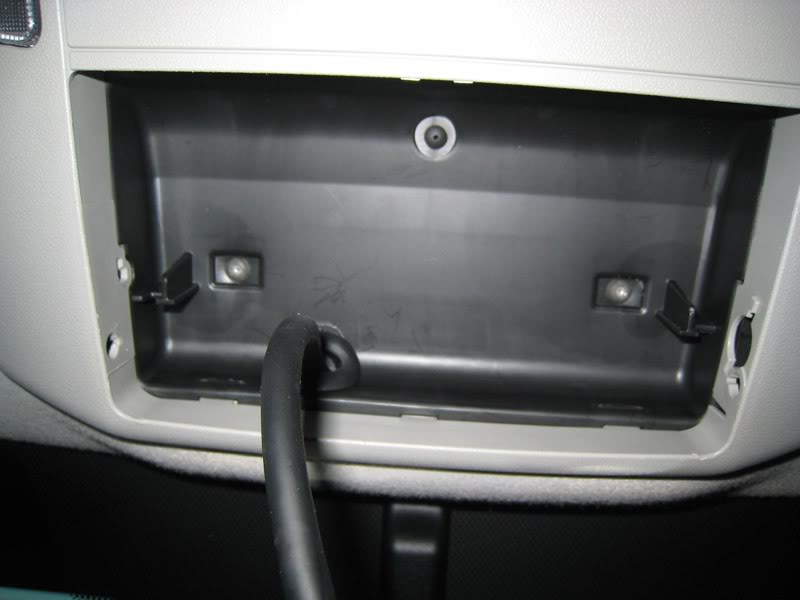
Step 12: Unplug the wiring plug harness(es)– you may have two– and carefully set the overhead console aside.
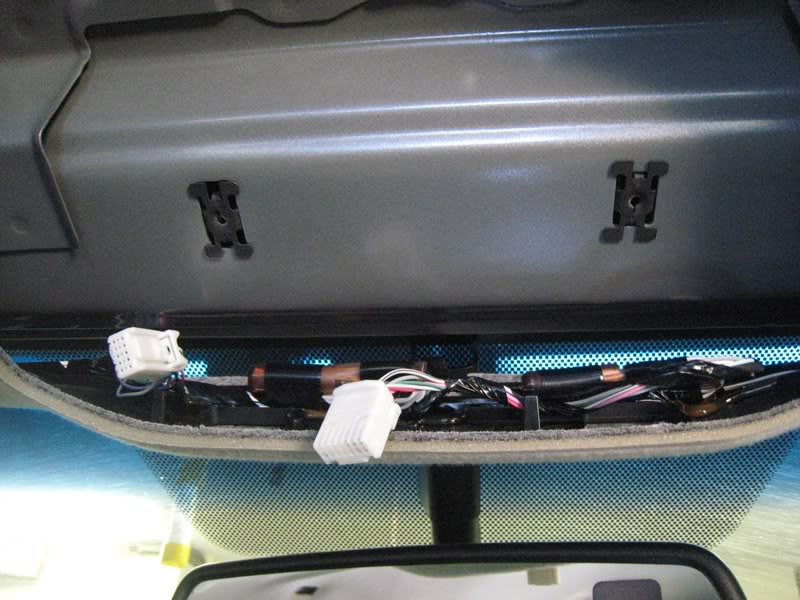
Remove the Door Trim Molding and Remaining Clips.
Step 13: At this point, your headliner is held in place by door trim molding and 4 small white clips in the rear. Start with the clips, then slowly release the headliner from the door molding.

Congratulations! You removed your headliner with the patience of a samurai. To reinstall your headliner, reverse the process.
Many Thanks to TundraSolutions member Jumbo Jet for his original DIY: Headliner Removal post and images.
Search terms people used to find this page:
- https://tundraheadquarters com/headliner-removal-diy-guide/
- tundraheadquarters
Filed Under: Maintenance Tips


Can you spray foam ( with care ) the underside of the headliner? I wonder how much room is available? It get’s pretty hot in summer ( i’m in GA ) and any concomitant noise reduction is welcome in a truck the size of the CrewMax! I might try this out. Thanks for the post!
-Rick